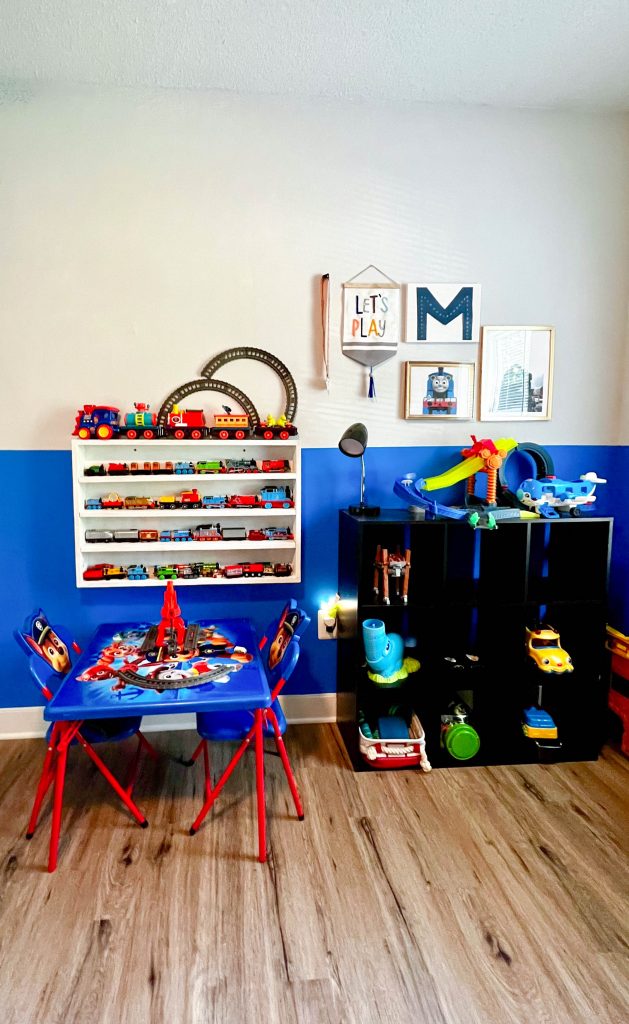
Maverick's Room makeover
Many of you guys were interested in the details of my son’s room and I’m so happy! I didn’t realize that it would get as much excitement from people as it does for Maverick and myself! This room brings us so much joy as our family took a lot of work in making this space his! Being an infant you don’t really have any say or autonomy over your space as a baby, so it was fun making Maverick’s dreams come true! Here are some things we considered before and during the process of giving Maverick’s room a makeover!
The Concept or Idea Behind the Kid’s Room Makeover
Firstly, we gathered ideas by mainly asking Maverick what he wants his room to be. And naturally he responded with, “Trains and Thomas”. Sometimes kids aren’t as vocal and expressive and that’s ok, you can make a pretty good guess by looking around their room and at their toys and see what the recurring theme or “thing” that they gravitate towards! Maverick has everything trains and everything Thomas the Tank Engine so we knew almost immediately. Again we didn’t want this to be a vision from our own eyes, that’s for our room. I wanted to create a safe space where Maverick can truly call his own and make it into his little haven and sanctuary. Where timeouts don’t seem all too bad, a place where he can calm down. A place where he can play in peace and give me a bit of peace (if you have toddlers you know how hard it is navigating this stage with all of the emotions and tantrums that come with teaching a 4 year old!) Once we got the theme, we narrowed it down to the color which was Cosmic Blue! But, first before we really got to the color we talked about budgets, because the paint color and size we purchased for the room will affect our spending!
The Process
Before getting Started
When creating a budget for a room/flip we ALWAYS guestimate under and I don’t know if this is a bad thing or a good thing but this is what we TRY to do. Because we almost ALWAYS go over – I don’t want to go over too much of our budget and that’s why I make our budget a lot lower than what we plan. Now, take into consideration we really tried to thrift most of the materials we used from FB Market finds to Habitat for Humanity buys that were all under $75 because we know toddlers will eventually grow out of this stage. We’re not going to invest in brand new furniture and hardware if we’re able to find, reuse, and upcycle the resources we have around us! You’ll be pleasantly surprised when you go thrifting at your local Habitat for Humanity and or Goodwill what you can find for such great prices! They’ve got a lot of very unique pieces and evet building materials for your house! So initially, our budget was $200-$300 dollars, because I’m guessing we’re going to really spend about $400 – $500. Luckily, we actually went a little under our budget since we were able to use alot of the stuff we already had or things gifted to us for free from family! We actually personally spent a rough estimate around $245 on things we actually bought! How great is that! SAVING is the name of the game while doing these upgrades!
Since we wanted something that would be contrasted with Maverick’s room because of the lack of dimensions, due to the fact that our house doesn’t get much natural light I wanted to only paint half of Maverick’s wall, I wanted to detail the brightness from our gray/white walls with the vibrant blue to make it have a bit if a pop effect without being overly blue and looking cramped and dark. Our house is about 79+ years old and is placed near Oak Trees and lots of Crepe Myrtles. Also, Maverick’s room has bushes strategically placed near his windows to keep away from public street views and access (yes I worry about these things as I want my son to be in a safe zone at all times!) Anyhow, I also knew I didn’t want to paint the whole of his room because he does have a good amount of furniture and a pickler gym piece in there which takes up room and space. So to make it look less cluttered we made one wall his main area of focus and color, and the remaining a white space where most of his furniture will be like his nightstand, book shelf, and his toy storage boxes. Those walls that are adjacent to the other two walls we painted we kept one color, and that’s just a plain gray/white. Then we picked the other two walls for an accent color only on the bottom half to keep it balanced and that means less money spent on paint!
The Products
Now here is what we bought for the project listed below with the rounded total of the products purchased, we spent around $150 on things we actually bought. If you’re buying all the things brand new listed below you’re going to be spending around $1,123 for a whole new room basically!
Quart Sized Cosmic Blue Paint (take into consideration the design of the room and how much area you want to paint for the design)
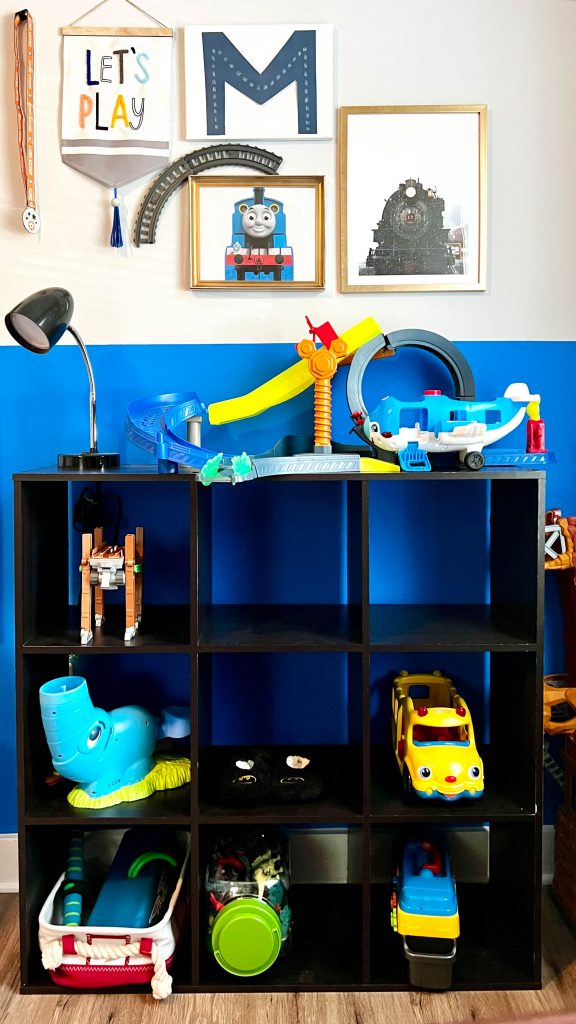
Frames for Gallery Wall
Thrifted Small frame for Gallery Wall
Cubicle Shelf for toy display
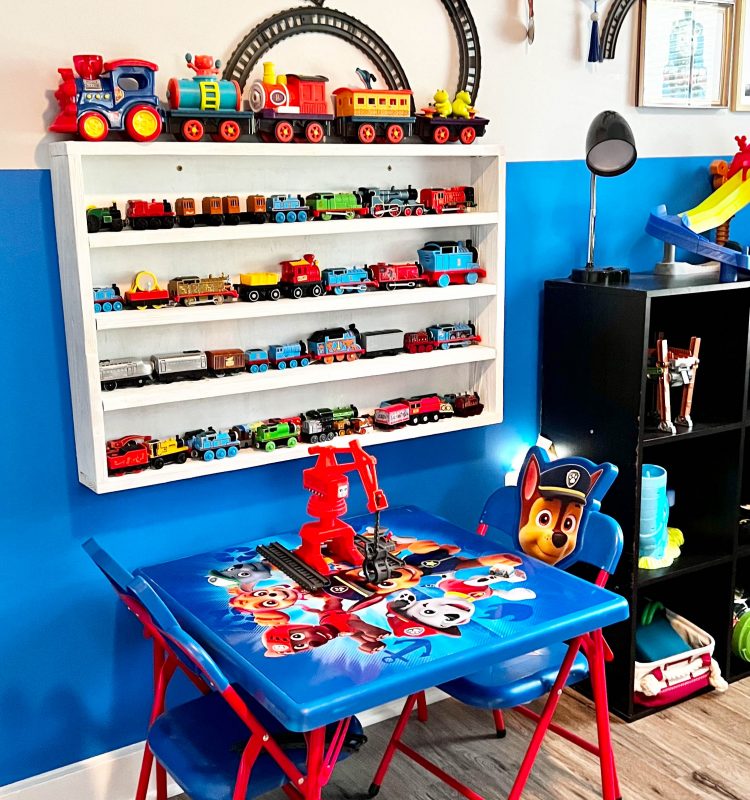
Train Wall Shelf (Materials include: plank wood, 2’ x 4’ plywood, sanding paper), if you need to buy tools like a miter saw (we already had this because my husband is a carpenter/wood smith) then you’d also add that into your budget.
Chalk Paint for Train Wall Shelf
Item’s we already had or got free but I’ll list lowest pricing if you were to buy these new below:
Bunk Bed Frame
Twin Mattresses
Twin Bed Sheets and Comforters
Throw Pillows
Pickler Gym Playsets
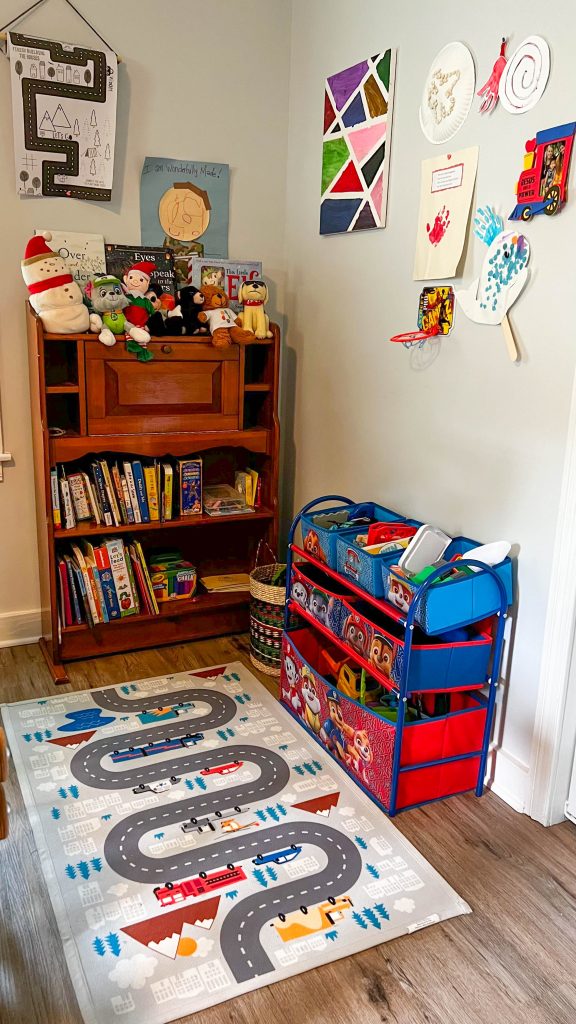
Antique Wooden Bookshelf
Nightstand
Cloth Material Toy Storage Boxes
Wooden Paw Patrol Trunk Storage
Paw Patrol Table
Large Roll of Road Drawing and Paper
Road Accent Rug
The Build
Huge shoutout to my husband of course who’s a great carpenter and has great workmanship? What’s the term for someone who knows how to make things with wood? I think that’s it right? Anyhow, we started the makeover by moving everything into the center or the room and or moving the mattress out of the way of the walls that needed to be painted. We measured the height and marked where we wanted to paint the room, then lined it with painter’s type to help the painting process go smoothly. Then I painted both walls in one day, but it took two days since I did two coats. First coat one day second coat the next. Then, after, I let it dry for another day and do touch ups. So it was a total of 3 days for painting.
My husband made the train shelf in two days, although it could’ve been done in one, he sanded it down the day after he screwed and drilled all the wood pieces together, then I had to paint it with primer and then chalk paint after that was done. So in total it took us 3 days to do the painting and building of the shelf. Then we took one day to go thrifting to buy the rest of my son’s bedroom furniture such as the cubicle shelf. The bunk bed we were able to get from our in-laws, so we saved money on that as well as the twin mattresses as mentioned before.
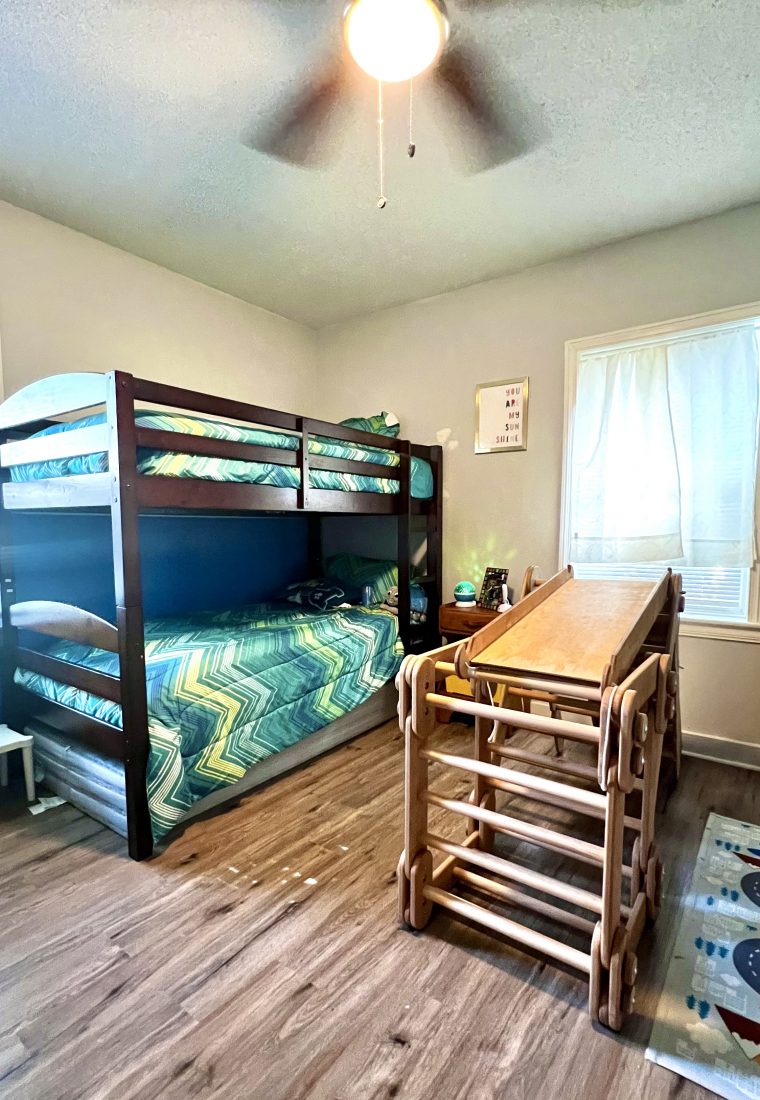
After we finished the painting, the train shelf, and getting the rest of Maverick’s furniture, and let everything dry we simply zoned different areas of his room where things just made sense. So we had his table with a train shelf against the blue Thomas wall. Then added the cubicle shelf on that wall as well to add some contrast with the black and blue. Placed the bunk bed in the corner because we wanted at least one side against the wall so that it would be kid friendly and safe. Then made a reading and art corner where Maverick’s artwork/schoolwork can be hung and displayed along with his books. We already had an old Paw Patrol cloth Toy Storage shelf so we used that as well next to his bookshelf for extra toy storage. Something that we planned on moving into the nursery and playroom is the activity gym / pickler. Right now Maverick’s room is jam packed with all of his things because he likes to have his pickler in there when he has friends over to play. But when the baby is old enough 1.5yo – 2 we’ll most likely move the pickler into the nursery and playroom so Maverick can have more space in his room.
The Finished Product
I hope you guys got some good inspiration and ideas for giving your toddler room a makeover! We enjoyed this process and loved seeing the joy in our son’s face as we revealed it too him. If you want to follow along on my motherhood and lifestyle journey you can checkout my page @hoangviton or @beautyfoodymom on Instagram to keep up with daily life and activities. You can also click the button below to shop all of my home décor, furniture, as well as outfits and housewares.

How to Spend 48 Hours Charleston, SC Edition
Where to stay Places to Stay: Mills House Hotel, close to the peninsula and right near the battery and following restaurants and dining

Mills House Hotel – Charleston, SC Family Friendly Stays
Where to stay I am going to give you a little tour of Charleston, SC and how to get the most out of

Truffle Porcini Tomato & Basil Pasta
easy truffle pasta recipe at home This is a recipe came by drawing inspiration from a more simple tomato and basil pasta,
Toddler Thomas the Tank Engine Room Makeover
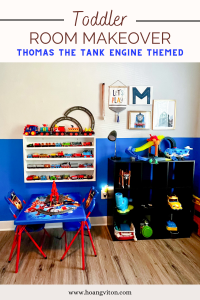
Maverick’s Room makeover Many of you guys were interested in the details of my son’s room and I’m so happy! I didn’t

Leon’s Copycat Scalloped Potatoes
Comforting easy scalloped potatoes recipe! If you’ve ever been to Leon’s Oyster Shop located in Charleston, SC and you’ve had their beloved

Viet-Korean Inspired Ground Beef Rice Bowl
Refreshing spring/summer vietnamese korean inspired dish This is a modified Korean BBQ Ground Beef bowl, typically Korean BBQ sauce contains brown sugar,

